

You use your cooler for pool parties, tailgates, barbecues, and weekend car camping, so it’s bound to get dirty over time. When you forget or put off cleaning your favorite cooler, it’s likely to be moldy or smelly due to grime, dirt, spills, and debris. At best, having a cooler that looks like a science experiment is gross. At worst, over time it can even become a health hazard. Nothing ruins a weekend in the woods like good ol' fashioned food poisoning, so it’s vital to clean your cooler to keep your perishable goods safe. (It's why you routinely clean your fridge. Wait, you do clean your fridge at home, right?)
Most people use their coolers on the go, so it can be easy to forget to clean them. It's easy to get lazy about it, but it’s best to empty and clean your cooler after each use to avoid the buildup of mildew and stains. You’ll only realize it’s dirty and smelly when you next go to use it. But if you’re wondering how to clean a cooler — whether it's stained, moldy, stinky, or some particularly nasty combination of the three — we have you covered with some easy steps.
How to clean a cooler that's moldy
Storing your cooler in an area with high moisture levels for an extended period is likely to result in mold growth. This is the last thing you’ll want to happen, but don’t fret. You can easily clean it to remove the mold. Here is what you need to do:
Step 1: Wash the cooler normally with a garden hose to remove loose dirt, filth, and light stains.
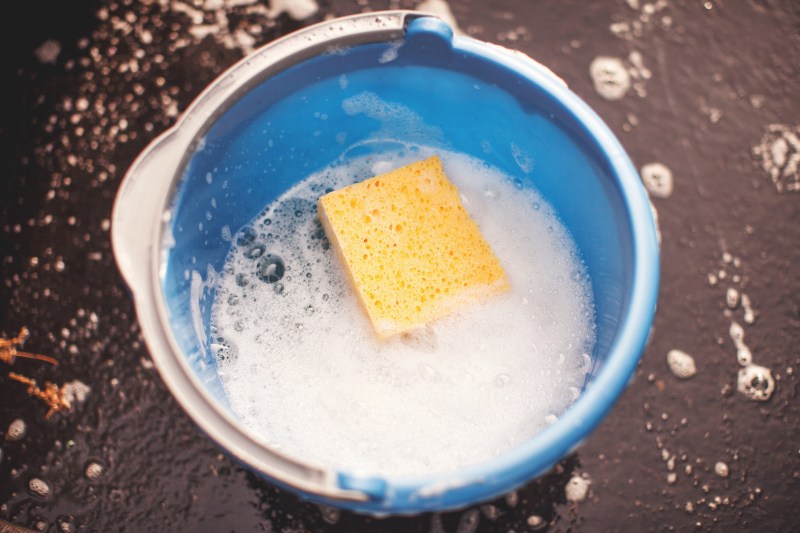
Step 2: Create a cleaning solution using a gallon of warm water, three drops of liquid soap, and a cup of baking soda. Mix the solution well in a bucket.
Step 3: Soak a sponge in the solution and use it to scrub the interior surface of the cooler. Ensure you have scrubbed the solution onto the entire surface, including hinges, nooks, and crannies. Remember to clean the exterior thoroughly too.
Step 4: Use the garden hose to rinse the cooler thoroughly. If it has a drain, make sure you’ve opened it to allow the seamless flow of soap residue and dirt.
Step 5: Mix equal parts of water and liquid bleach in a bucket.
Step 6: Dip a clean sponge into the solution and again clean the cooler with bleach to eliminate any traces of mold. Apply the solution to every crevice and corner of the cooler.
Step 7: Allow the cooler to rest for at least 10 minutes for the solution to disinfect effectively.
Step 8: Use the garden hose to rinse the cooler. Be sure to confirm there are no traces of mold inside it. Wipe excess water using the towel and allow your cooler to dry in the sun and open air with the lid open.
How to clean a cooler that's stained or smelly
Neglecting your cooler by forgetting to clean it after a few uses can leave a rancid smell. Ordinary cleaning with water and soap is rarely enough to address the issue. Removing stains is the best way to prevent foul smells and mold in your cooler. Foods, water, and other liquids can stain your cooler, so you need to get rid of them as soon as possible. And remember to clean both the interior and exterior to prevent bacteria growth, which might contaminate your food. Then, let it dry adequately in the open air before storage.
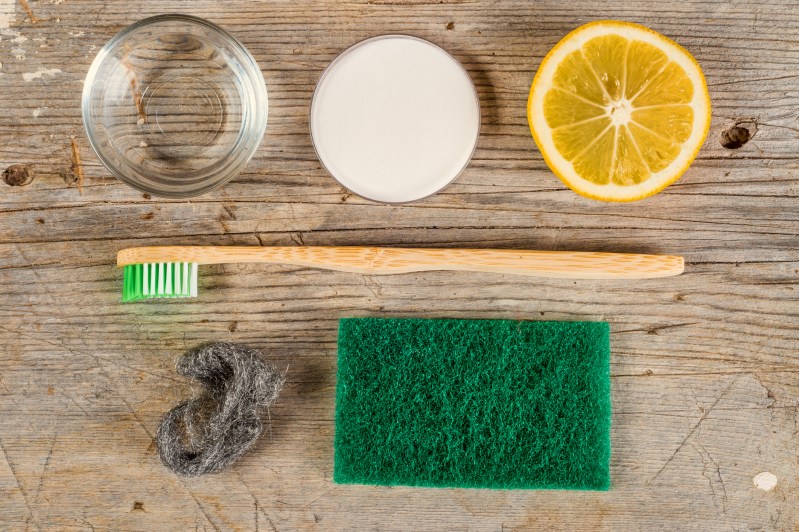
If stains or smells are your problem, the cleaning process is similar, but you'll need a few different tools for the job:
- White vinegar
- Lemon juice
- Soft towel
- Sponge
- Toothbrush
- Garden hose
Step 1: Rinse the cooler using a garden hose to remove loose dirt and identify stubborn stains.
Step 2: Use a liquid dishwashing soap and a wet sponge to scrub the bottom and walls of the cooler. Take the toothbrush and scrub the drain area and the lid gasket.
Step 3: Rinse the loose dirt out with water.
Step 4: Mix equal parts of water and vinegar and use the solution to clean the cooler’s inner surfaces.
Step 5: Set the cooler outdoors and let it air out for about 30 minutes, then rinse it using the garden hose.
Step 6: If there are any stubborn stains remaining, use lemon juice to get rid of them. If the stains have gone, wipe off the cooler using the towel, and allow it to dry.
Keeping your cooler clean isn't hard, and many of today's best coolers — especially Yeti models and coolers like Yeti — even include antimicrobial treatments like Microban to fend off pesky bacteria and odors. With a little elbow grease and a few common household products that you probably already have on end, you can keep your favorite cooler looking (and smelling) like new. So, grab your cooler and supplies and get to work. The outdoor season is fast approaching and we need to spend as much time outside as possible.
FAQ
What is the best thing to clean a cooler with?
As we said above, we believe a simple solution is the best solution for how to clean your cooler. That means just a few common household products that you probably already have on hand, including warm water, dish soap, and baking soda.
What is the best way to clean mold out of a cooler?
Start by cleaning your cooler with a mixture of warm water, dish soap (we like the original blue Dawn), and a bit of baking soda, and follow the "maintenance" cleaning steps above. Then follow that routine up with a round of warm water and bleach mixture to target the moldy spots. Let sit in the sun for at least 30 minutes to air-dry. Repeat if necessary.
How do you clean the outside of a cooler?
Because almost every cooler uses the same plastic material both inside and out, it's best to clean the outside of a cooler (and hinges and every other part, really) the same way as you would clean the inside. Our preferred method is to use a mixture of Dawn dish soap, warm water, and baking soda. Then let it air-dry in the sun for around a half an hour. Voila! Good as new!
Editors' Recommendations
- Tick safety 101: How to safely remove ticks (and avoid them in the first place)
- Back in the saddle: Get ready to ride with the best cycling shorts for men
- How to pack a tent in a backpack: A pro guide for beginners in 6 easy steps
- These are the 11 best coolers like Yeti, but cheaper
- Get the best nature apps for identifying unknown plants and critters right from your smartphone


