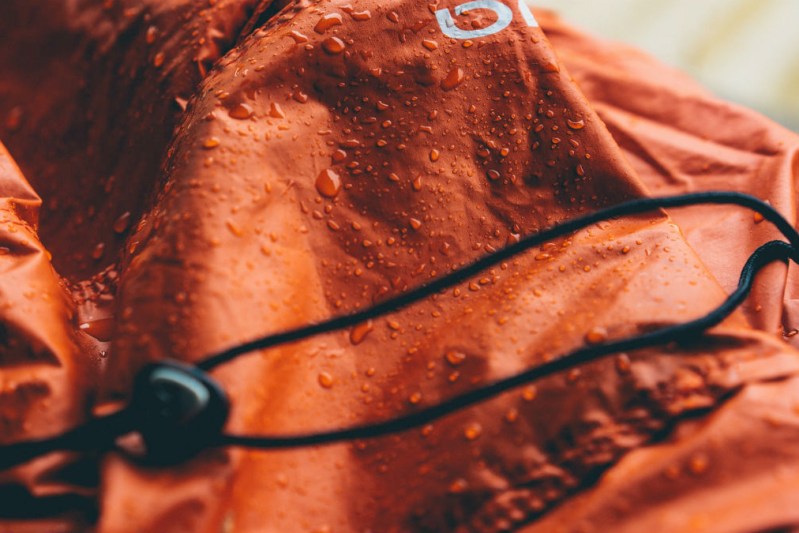
Do you have a favorite jacket that you wish you could go out in the rain in? I don’t blame you, especially if you live somewhere rainy. Waterproofing your jacket can transform a comfortable wardrobe staple into the ultimate waterproof rain jacket, and it’s really not as hard as you might think. Believe it or not, there are plenty of ways to make your jacket waterproof, and it can be done in as easy as 3 simple steps.
Why waterproofing your jacket is important
There are several reasons why you might want to waterproof your jacket. Protection from the rain is one, but waterproofing can also protect you from the wind, too. The extra coating adds an additional layer that can make your favorite jacket that much more comfortable.
Waterproofing your jacket can also make it more durable in the long run. It can extend your jacket’s lifespan by preventing water damage and reducing wear and tear. You might also find that your new waterproofed jacket has a ton of versatility. It can now be worn in a variety of outdoor activities, from hiking to running, and you never have to worry about bringing an extra layer.

How to waterproof a jacket
Step 1: Choose your waterproofing method
There are several ways to waterproof your jacket, and it all depends on what kind of material it’s made of. There are several options on the market, including waterproof sprays, wash-in solutions, and wax-based solutions.
Waterproof sprays are great for synthetic materials such as polyester and nylon. Windbreakers, softshell jackets, down jackets, and ski jackets are all water resistant to a certain degree, but they can be improved upon with a waterproof spray.
Wash-in solutions are also fantastic for jackets that are machine friendly. It’s important to pay attention to the wash-in solution you choose and make sure that it’s compatible with your jacket. Some wash-in solutions require certain machine settings. They could need an extra rinse cycle, so make sure to read the directions thoroughly to ensure that you don’t ruin your jacket.
Waxing is a traditional method of waterproofing that is often used to treat natural materials such as cotton, leather, or canvas jackets. Pay attention to which solution you buy because some may require heating with a hair dryer or a heat gun to melt the wax into the fabric.
Step 2: Clean your jacket
Before applying the product, ensure that your jacket is clean of dust, dirt, and any other kind of residue. If you skip this step, don’t be surprised if you get patchy results. Use a mild detergent and warm water to thoroughly clean all the nooks and crannies, and then rinse it to remove all the soap. After that, hang the jacket to dry completely.
Step 3: Apply the waterproofing product
If you’re using a spray, many brands recommend holding the can at a distance of six inches from the jacket and spraying evenly. With a wash-in solution, add it to the washing machine during the rinse cycle. If using a wax-based solution, apply it evenly with a soft cloth, then heat the jacket with a hair dryer or heat gun to melt the wax into the fabric.
Some brands recommend different application strategies, so be sure to follow the instructions on the waterproofing product before applying it to the jacket.
After that, allow your jacket to dry completely before wearing it. Hang it in a well-ventilated area, and avoid exposing it to direct sunlight or heat.
Waterproofing your jacket is a simple and effective way to protect it from the elements and extend its lifespan. By following these three easy steps, you can transform your favorite jacket into a versatile and reliable piece of gear that can be worn in any weather condition.
Editors' Recommendations
- Tick safety 101: How to safely remove ticks (and avoid them in the first place)
- Planning a camping or hiking trip? Reduce your carbon footprint with these tips
- Upgrade your everyday carry with these best-in-class, fast-action flipper knives
- Stock up on hiking and camping gear at the best places to shop for outdoor equipment deals
- Yellowstone National Park issues a new warning (and we can’t believe people need to be told this)


